| Author |
Message |
Gaetano_AU

Joined: Oct 08, 2011
Posts: 64
Location: Australia
|
 Posted: Sat Oct 22, 2011 6:55 am Post subject:
Completed MFOS Ultimate and Expander Posted: Sat Oct 22, 2011 6:55 am Post subject:
Completed MFOS Ultimate and Expander
Subject description: Some picture of my completed MFOS Soundlab Ultimate and Expander |
  |
|
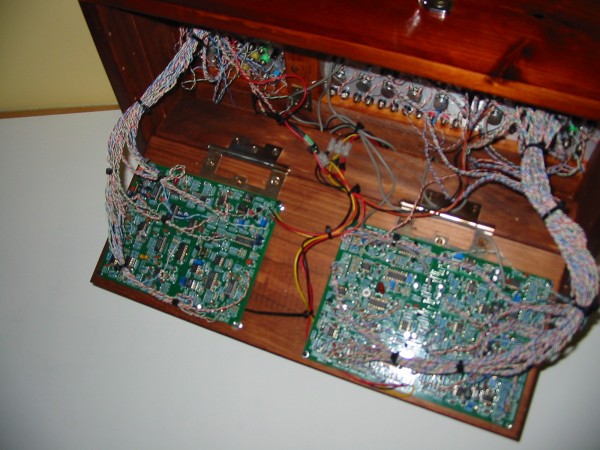
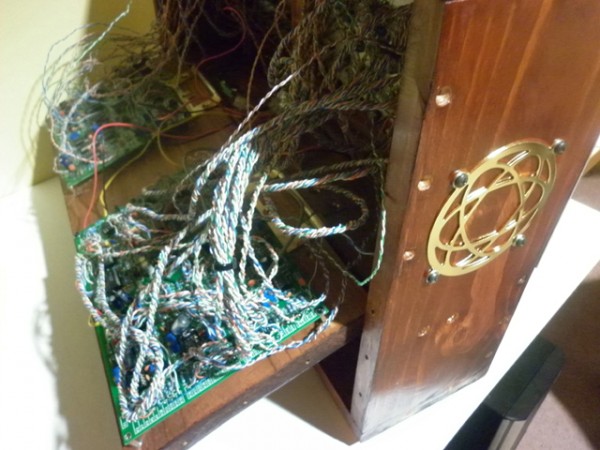
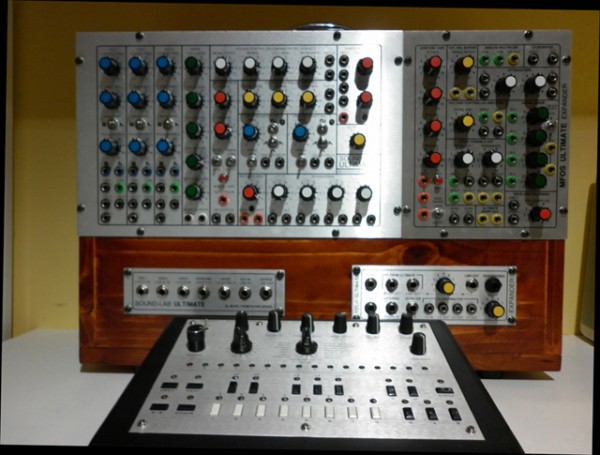
Here is a few pictures of Ray Wilson's fantastically designed 'Ultimate' and 'Ultimate Expander', the case is just made from stuff I had around. The wood is a single bed which was built into the house we bought, but made way for a double bed. I removed it and had the wood sitting around doing nothing. The rear drops down on hinges (and stays horizontally) when the back is removed, in order to facilitate any future mods or repairs. The power supply is the MFOS 317/337 type with an external 12vAC/0/12vAC centre tapped plug pack plugged in via a 3 pin DIN. These plugpacks were a good score, they put out ~12VAC @ 1.25A + ~12VAC @ 1.25A perfect for these! It all works but is not calibrated yet as I have yet to build a frequency counter, my old DIY counter is getting to old to use. The second unit should not take as long as this one as I jotted down notes and built both sets of boards simultaneously.
I cannot reccommend these more highly. I have owned tons of old synths, like the Roland System 100/100M and ARP 2600 etc., (which I no longer have), but I would not bother with these when you can make your own modular stuff for this price; and without having to worry about the fact that some of the parts for the old gear are getting very difficult to get.
| Description: |
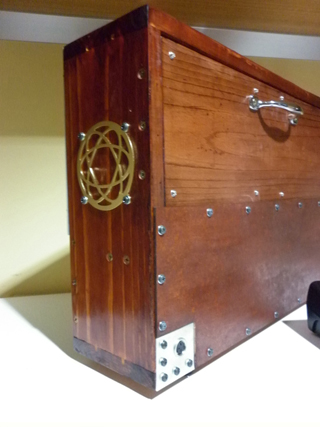
| There is a 3 pin DIN at the bottom to disconnect the centre tapped plugpack easily. The rear panel comes off without disconnecting the plug, so its easier to repair. |
|
| Filesize: |
105.47 KB |
| Viewed: |
8965 Time(s) |
|
| Description: |
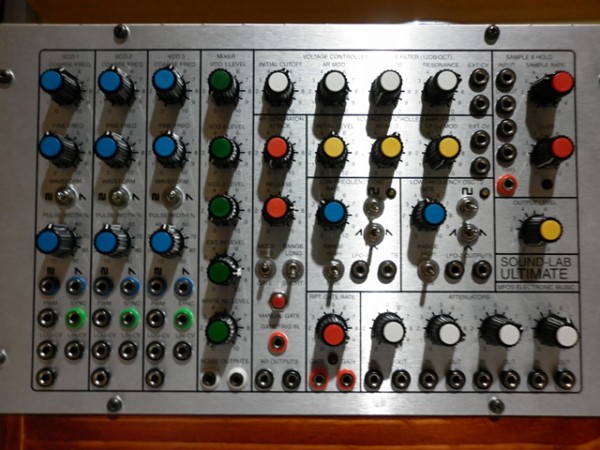
| Detail of the Ulimate, Left Hand Panel. |
|
| Filesize: |
258.87 KB |
| Viewed: |
317 Time(s) |
| This image has been reduced to fit the page. Click on it to enlarge. |
|
| Description: |
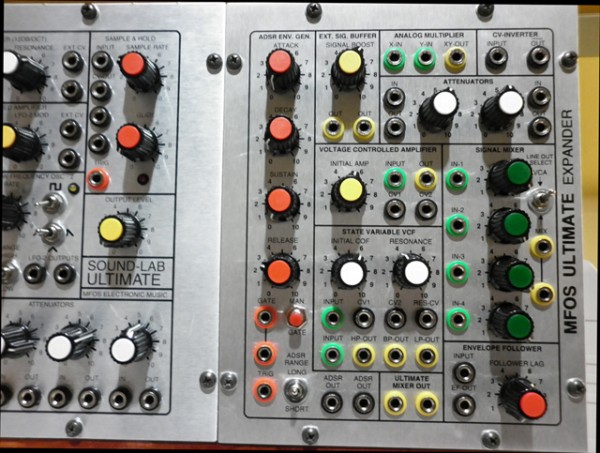
| Detail of the Expander, Right hand Panel. |
|
| Filesize: |
278.01 KB |
| Viewed: |
313 Time(s) |
| This image has been reduced to fit the page. Click on it to enlarge. |
|
| Description: |
| The back opens and slopes over the horizontal for easy access. |
|
| Filesize: |
263.21 KB |
| Viewed: |
303 Time(s) |
| This image has been reduced to fit the page. Click on it to enlarge. |
|
| Description: |
| I will be using my x0xb0x as a sequencer for these. |
|
| Filesize: |
243.5 KB |
| Viewed: |
293 Time(s) |
| This image has been reduced to fit the page. Click on it to enlarge. |
|
|
|
|
Back to top
|
|
 |
loydb
Joined: Feb 04, 2010
Posts: 393
Location: Providence, RI
|
|
|
Back to top
|
|
|
Gaetano_AU
Joined: Oct 08, 2011
Posts: 64
Location: Australia
|
|
|
Back to top
|
|
|
iopop3
Joined: May 28, 2010
Posts: 94
Location: Malmö, Sweden
|
| Posted: Sun Oct 23, 2011 10:57 pm Post subject:
|
|
|
Nice work, really need to finish up mine, just have a bit of woodwork and the smaller panels to wire up!
Also, why is everyone a part from Ray placing the expander to the right? Ive done that myself. |
|
|
Back to top
|
|
|
Gaetano_AU
Joined: Oct 08, 2011
Posts: 64
Location: Australia
|
| Posted: Sun Oct 23, 2011 11:34 pm Post subject:
|
|
|
| I placed mine that way, as the power supply is beneath the Expander, far away from the VCO's as possible, as initially I was going to mount the transformer inside. Also usually flow is normally left to right for us Source (VCO) -> Processing (VCF/VCA etc) -> Output. Ray may have placed them the other way, as the Expander came later, and it has a CV distributor, which would be much closer to the 3VCO's CV inputs if the panels were reversed (this is a guess though, as I have never asked him), so one CV input could drive the 3 VCO's with buffering, so the CV out would not be loaded. |
|
|
Back to top
|
|
|
ashleym
Joined: Aug 20, 2009
Posts: 181
Location: uk
|
| Posted: Wed Oct 26, 2011 7:53 am Post subject:
|
|
|
I have the Expander below the Ultimate but I extended the Expander front panel to include all the 1/4" sockets and to make it the same size as the Ultimate panel. I have a thread with pictures on here somewhere.
Nice build. Good to see your wiring tamed and some sense with the banana and knob colour coding. I have none.
I am building the 16 note sequencer now as I think they make a good, if not vital, mate with the Ultimate and Expander. |
|
|
Back to top
|
|
|
|

 Forum index » DIY Hardware and Software » MusicFromOuterSpace.com designs by Ray Wilson